Customizing the Look of Windows 10: A Quick Guide
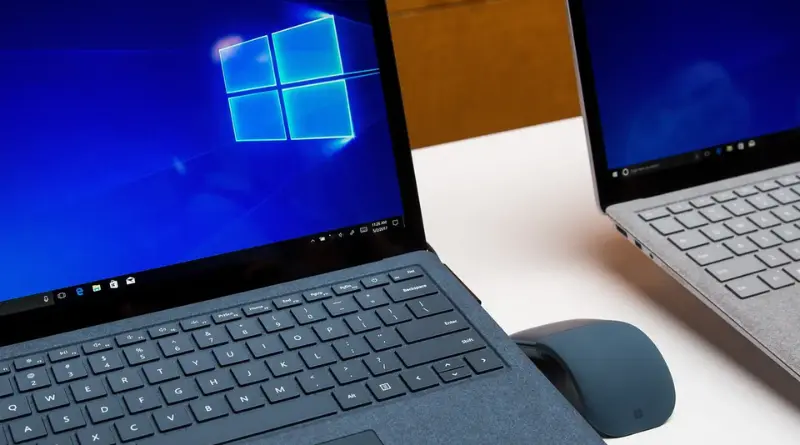
Are you tired of the default appearance of Windows 10 and looking to give it a fresh and personalized touch? Look no further! Windows 10 allows you to customize various aspects such as the desktop, start menu, taskbar, fonts, and more. While there are built-in tools available, they might not offer deep customization options. To truly achieve a cool and unique Windows 10 look, consider utilizing third-party tools for a more extensive customization experience.
Customize Windows 10 using Built-in Tools
Step 1:
Access the Personalization tools. Press the “Windows + X” keys to open the Settings window. Select “Personalization.” Within this section, you will find various tabs such as Background, Colors, Lock Screen, Themes, Fonts, Start, and Taskbar.
Step 2:
Utilize the Background tools. To change the desktop background in Windows 10:
Choose the “Background” tab and select the “Picture” option. Click on the “Browse” button to select a new wallpaper image. Expand the “Choose a fit” drop-down menu and select the appropriate fit for the image. To create a picture slideshow on the desktop:
Access the “Background” tab and choose the “Slideshow” option. Click on the “Browse” button to select a folder containing your picture collection. Expand the “Change picture every” drop-down menu to set the rotation frequency.
Step 3:
Explore the Colors options. Expand the “Choose your color” drop-down menu to switch between Light and Dark mode. Enable or disable transparency effects using the “Transparency effects” toggle switch. Select an accent color of your choice to modify the appearance of buttons, links, system icons, and other elements.
Step 4:
Customize the Lock Screen. You can customize the lock screen similarly to the background, although specific steps are omitted here.
Step 5:
Change Themes. Themes encompass various visual elements such as styles, desktop wallpapers, screensavers, mouse pointers, system sound events, and icons. Switching themes allows for quick and easy customization of the Windows 10 user interface.
Click on the “Get more themes in the Store” button. Select the desired theme and click “Get.” Apply the theme by clicking the “Apply” button. In the “Apply a theme” section, click on the newly-installed theme to apply it.
Step 6:
Personalize the Start Menu. Under the Start section, you’ll find several toggles, including options to show more tiles, display the app list, show recently added or most used apps, show suggestions, and enable full-screen mode.
Click on “Choose which folders appear on Start” to select the desired folders. Resize the Start menu vertically or horizontally by stretching its edges. Adjust the size of live tiles and folders by right-clicking on them and selecting the “Resize” option. If preferred, remove all tiles to display only the all-apps list view, reminiscent of the menu style from Windows 7.
Step 7:
Customize the Taskbar. Under the Taskbar section, you’ll find toggles for locking the taskbar, auto-hiding it in desktop or tablet mode, using small taskbar buttons, and showing badges on taskbar buttons.
Modify the taskbar location by expanding the “Taskbar location on screen” drop-down menu and selecting the desired location. Adjust the “Notification area” by clicking on the “Select which icons appear on the taskbar” link and toggling the switches.
By following these steps, you can perform basic customization of Windows 10 using the built-in tools. For more extensive customization, consider exploring third-party Windows 10 customization tools.